

I do not think that I need to tell you what are torrents, but you might not know that you can get a torrent client which can be operated through your web browser from any device, run 24/7 and save files to a NAS.
This tutorial will show you how to install, configure and use qBittorrent client to download torrent files to your server.
Recommended
Preparation
Since torrents tend to take a lot of space it is best that you attach some storage to your server if you are setting up the torrent box on your RaspberryPi. Additionally, SD cards are not the best place to store files due to their speed and potential to become corrupted.
Check out my tutorial on mounting drives above and then create a directory for your files. It is best to keep them in a separate folder, just so everything organized.
If you are setting up a torrent box you might as well set up samba so that your downloaded torrents are available on your local network, check out how to set up that as well.
Installation
To install qBittorrent without GUI type the following in terminal
sudo apt install qbittorrent-noxAs usual it will install some dependencies, just confirm with ‘y’. Nothing else is required to run. You can check out some alternative WebUIs later on, but for now we will concentrate on setting up the basics.
Caution! Be sure to install -nox version which has no GUI and is operated via WebUI. GUI version will try to install a window manager and if you are running headless this is obviously pointless.
First run
Firstly, you should check if qBittorrent works, run the following
qbittorrent-noxYou should see a legal notice warning, accept by typing ‘y’ and pressing Enter. You have to accept terms in order to use the software, additionally if you are going to run qBittorrent as a different user, you have to run it manually and accept terms the first time around for that user as well.
Caution! Do not close terminal window or kill the qbittorrent-nox process! Right now it is working as a foreground process. You will change it to a service in a moment.
Caution! Remember that using BitTorrent network is legal, but the files you are downloading and sharing might not be and it is YOUR responsibility to make sure that you are not using the software to break any laws in the country of your residence.
You should be able to access the qBittorrent WebUI over LAN now. Open a browser on your PC and in the search bar type
your.server.local.ip:8080and press enter. You should see a website with the following content
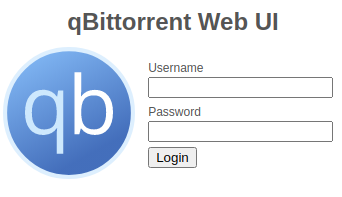
To log in use the following credentials
- Username – admin
- Password – adminadmin
You should change those for security reasons.
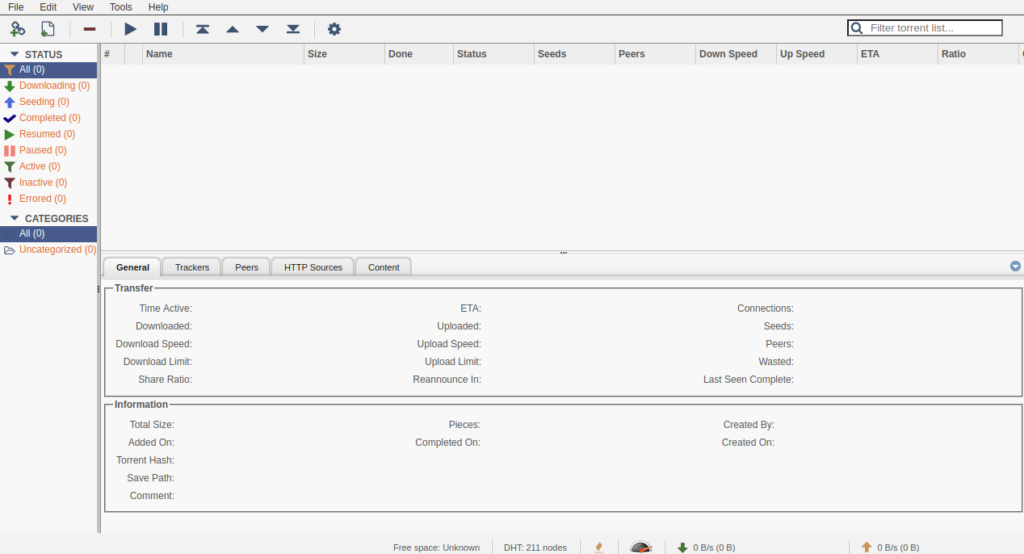
Now you will be taken to the following screen
Now go back to terminal and press CTRL+C to quit and kill the process. Check if you can log in to WebUI again, or refresh the page if you have not closed it. WebUI should not be accessible. That is expected.
Running software as a service on your server
Now, if you want to set up qbittorrent to run independently in the background you have to run it as a service. In order to do that firstly run the following
sudo nano /etc/systemd/system/qbittorrent.serviceNow put the following inside the file, save and close
[Unit]
Description=qBittorrent-nox service
Wants=network-online.target
After=network-online.target nss-lookup.target

[Service]
Type=exec
Restart=always
RestartSec=1
User=pi
UMask=0000
ExecStart=/usr/bin/qbittorrent-nox

[Install]
WantedBy=multi-user.target
Caution! Modify “User=” line to reflect your actual user if it is not pi, and it should not be for to security reasons. Make sure the specified user has rights to read and write to the folder for your torrent files.
If you want to know more about the above settings research systemd and setting up services on linux. The above is just a basic framework.
Now update service manager to recognize qbittorrent service you just created with the following
sudo systemctl daemon-reloadStart the service with
sudo systemctl start qbittorrentand confirm that it is running with
sudo systemctl status qbittorrentWebUI should be accessible again now. Go check it out.
The last thing to do is to enable the service so that it starts after a reboot, you can do that with the following line
sudo systemctl enable qbittorrentIf you get a message starting with “Created symlink” that means your service is enabled and will run at system startup.
- sudo systemctl start qbittorrent – starts servicee in the background
- sudo systemctl stop qbittorrent – stops service
- sudo systemctl status qbittorrent – shows status
- sudo systemctl enable qbittorrent – enables service with system start
- sudo systemctl disable qbittorrent – disables service with system start
This is applicable to each and every service on your system. This part of the tutorial will be moved to a stand-alone page with a more in-depth knowledge once I find some more time to research the subject, stay tuned.
Reboot your server to confirm that all is set up and that you can log to your WebUI.
Basic settings
Settings can be accessed through the gear icon at the top. Alternatively go to Tools and select Options…
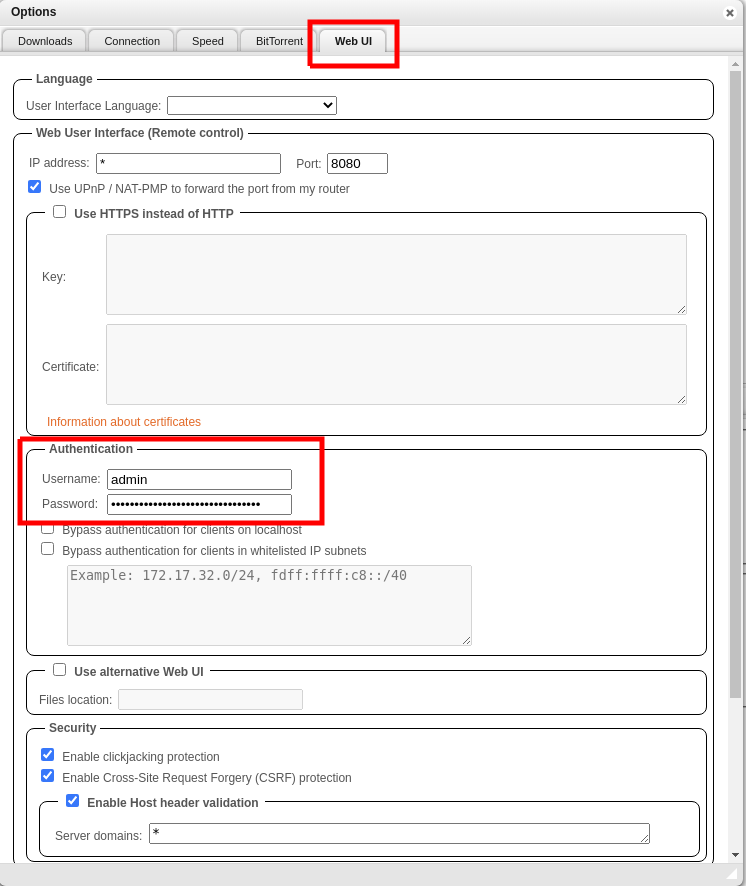
Change the password
First of all change the username and the password. You can do that in the Web UI tab pictured below.
Just change the marked section and click Save at the bottom.
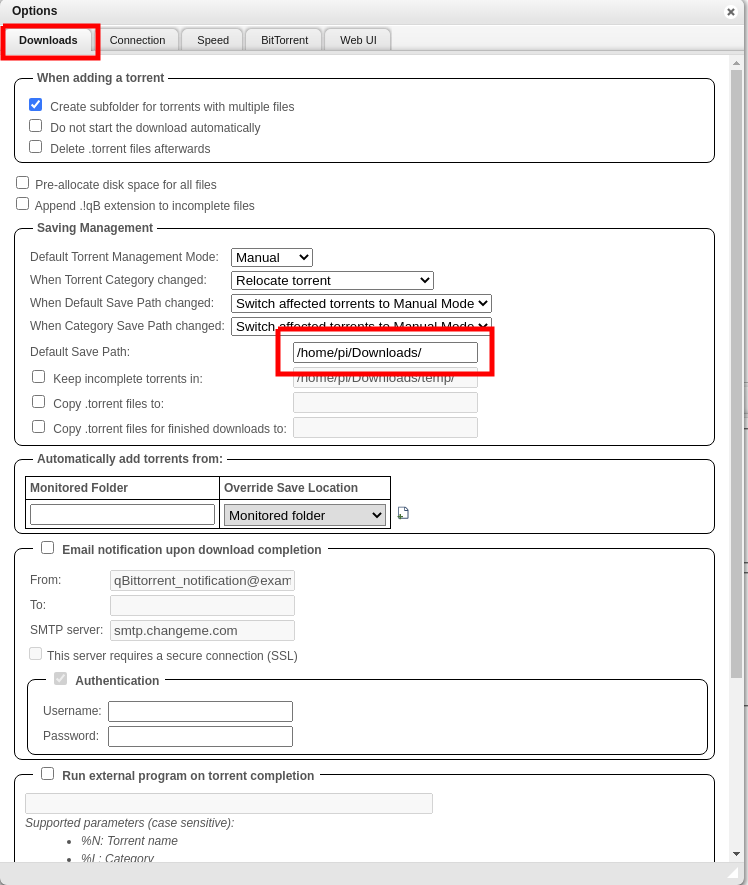
Change the default download folder
Simply change the folder in Downloads tab marked in the picture below. You want to change Default Save Path: If you made a folder at the very beginning of this tutorial and configured samba so that it is accessible on LAN put that file path here. Otherwise it will default to your Downloads folder.
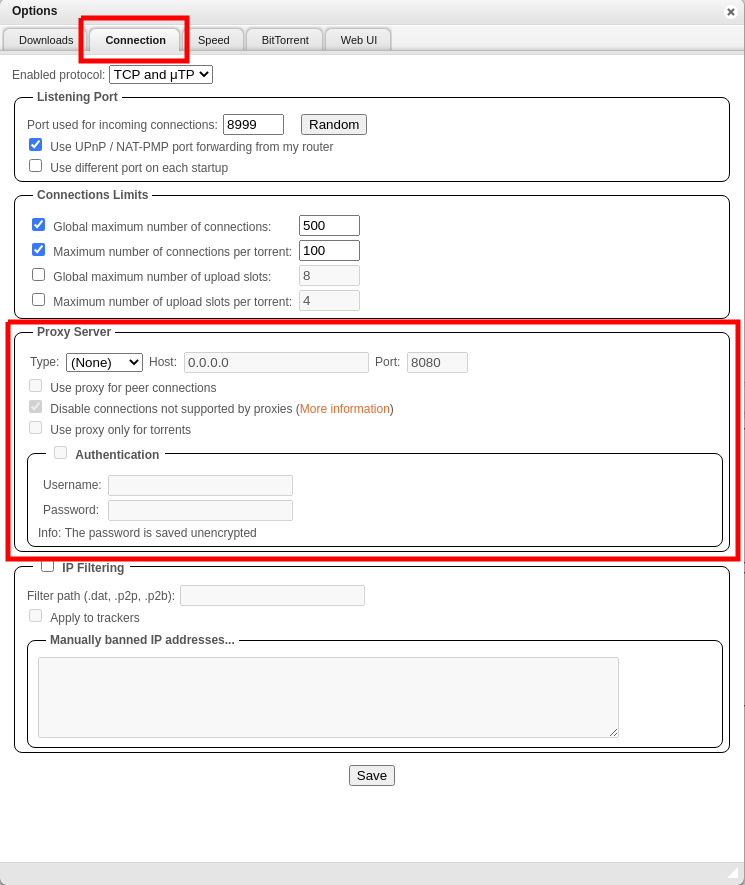
Add a proxy server
If your server does not have a VPN installed, but you have a VPN with SOCKS4 or SOCKS5 capability then you can set up that as well. It will not encrypt data but will hide your IP, bear in mind that your ISP will still be able to see everything.
It is not necessary, but a good thing to do if you have a VPN.
Downloading your first torrent
Now you are ready to test if everything is up and running. Assuming you have about 2.6GB available on your drive you can test if your torrent box works by downloading Ubuntu.
Navigate to Ubuntu download page with Alternative downloads, scroll down and click on the latest Desktop version to download a .torrent file. You can test the setup with any torrentfile, but Ubuntu was just the first thing that came to my mind as a source of a legal download.
Now that you have a torrent file, log into the WebUI and take a look at the picture below. I do not think you will need it if you made it this far, but I feel like the tutorial would be incomplete without this section.
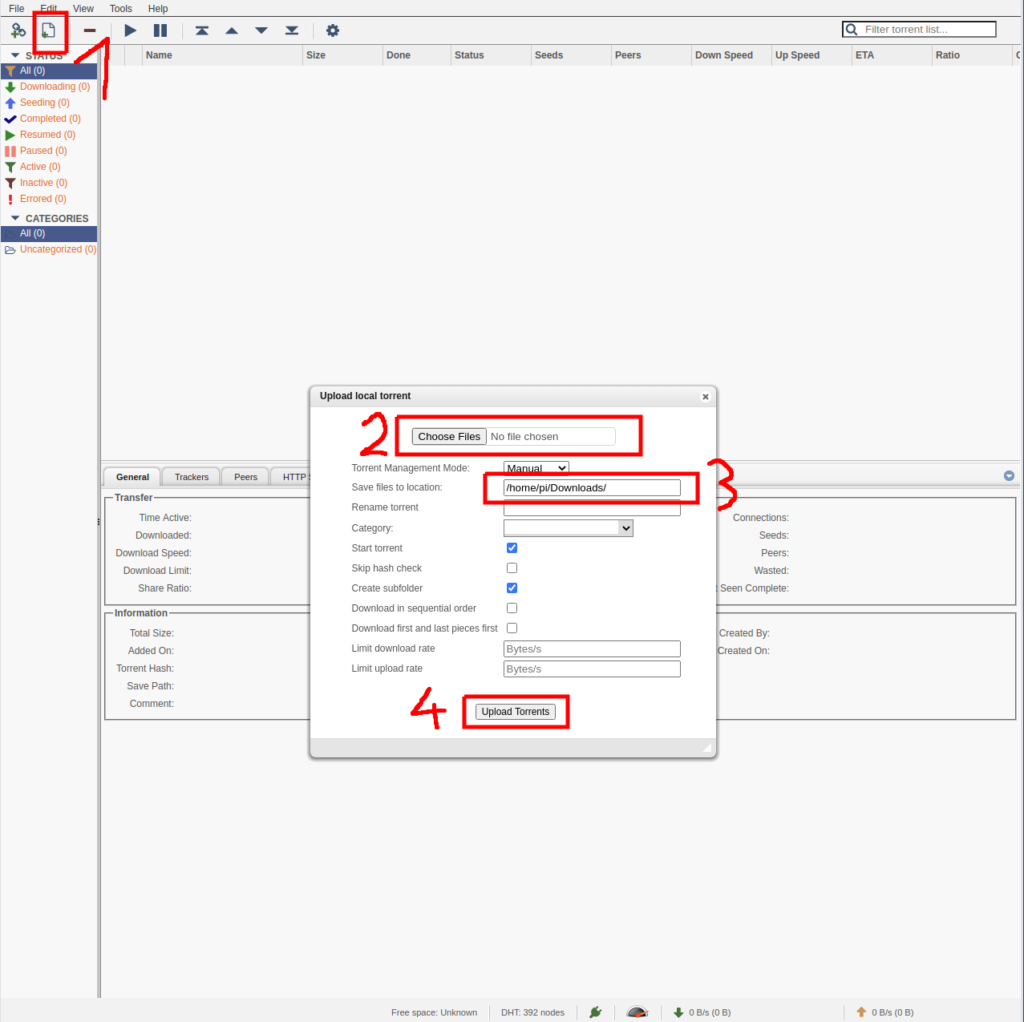
- 1 – Click here to bring up the Upload local torrent window
- 2 – Click on Choose Files and navigate to the .torrent file on your desktop
- 3 – Allows for specifying a different place to save the file if you want to change it for some reason
- 4 – Click here to add the torrent to the queue, it will start automatically, unless you unchecked Start torrent checkbox
I forgot my WebUI password!
First of all close qBittorrent with
sudo service qbittorrent stopIf you don’t stop the service the below will not work.
Now you need to modify the config file, run the following line to do so
nano ~/.config/qBittorrent/qBittorrent.confand remove the following line
WebUI\Password_ha1=If you want to reset the user then just remove the line with your user name as well.
Now save the file and restart qBittorrent with
sudo systemctl daemon-reload
sudo service qbittorrent restart
Additional settings
qBittorrent offers quite a lot of settings, most of them are a simple quality of life solutions. You can check out the wiki page here. And also take a look at Explanation of options.
You might want to set Share Ratio Limiting options in BitTorrent tab to limit the upload, it is good to give back to the community, but you do not want to choke your bandwidth at the same time.
Conclusion
Torrent box is a very handy thing to have if you are using a NAS and more than one device that would use its resources. With two PCs that are dual booting Windows and Linux you would have to install torrent client four times and copy files if you wanted to use them on on a different device. With a NAS and torrent box that is a thing of the past. Modern problems require modern solutions – one server, one client, accessible to many devices.